One of the best memories that are made on any camping, backpacking, climbing, basically any outdoor trip is made around the campfire. In one of our previous blogs, "Food, Campfires and the Outdoors" (click here to read about it!) I mentioned that, "the campfire has a certain magical appeal that makes people want to huddle around, share stories and have a good time! Through personal experience, I have met some of the most important people in my life being huddled with them around the campfire and it was one of the most comfortable and profound moments in my life!" Plus having the campfire around for warmth is an added bonus. With that said, let's go through a step-by-step process on how to build the perfect campfire without the use of lighter fluid, charcoal or other chemicals!
Note: Check with the agency that administers the land to see if campfires are permitted! Campfire permits may be required as well.
Thing to have to start your campfire:
- Firewood
- Lighter/matches
- Ax/hatchet
- Shovel
- Fire ring/pit
- makeshift with rocks
- pre-made at campsite
Step 1: Create a Fire Ring
Please note the fire dangers that are in place in national parks. DO NOT attempt to make a campfire if there are warnings in place. This applies to campsites and back-country areas. Next, there are some campsites that come with a built fire pit, however that's not always the case. To make a secure fire ring:
- Dig approximately 1 foot into the ground with a 3 feet diameter
- Make sure that the area you are creating your campfire is on sand or gravel
- Find rocks that are big enough to surround the ring (6-8in. high) and make sure that there are no flammable materials near your campfire.
Step 2: Prep Firewood
You can usually go to your local store to purchase a bundle(s) of firewood, however the alternative is to find firewood while you are outdoors. In that case, there are a few things to consider:
- You want to make sure that the firewood is DRY.
NOTE: DO NOT cut down live trees, use only the downed branches/wood - Use your ax/hatchet to break down the logs to conserve and prolong the fire time.
- When breaking the logs down, collect the kindling that chips off to help start the fire.
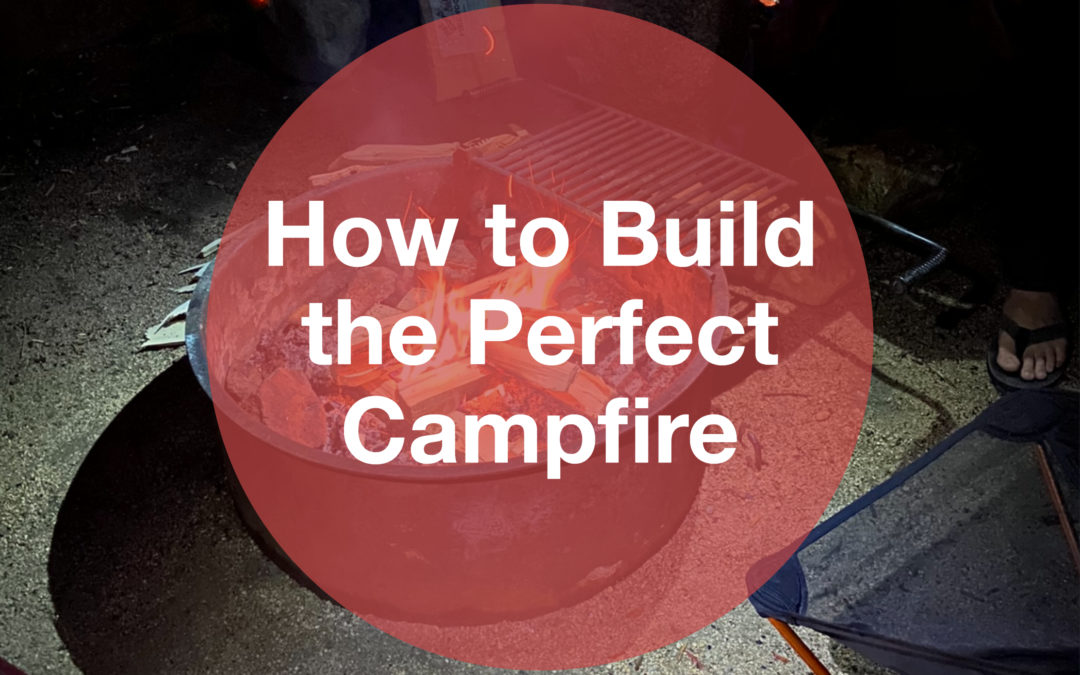
Step 3: Build Your Campfire
There are 3 things that are necessary ingredients for building a campfire: Heat, Oxygen and Fuel (kindling and wood). If one is lacking it makes the process much more difficult. There are many methods to position the logs to begin, which I have practiced, but there is one that always works for me: the Log Cabin method.
NOTE: Never leave your campfire unattended!
- Collect the kindling that was chipped off of the logs that you broke down with your ax/hatchet and place only a few in the middle of the ring.
- Grab 2 logs and put them in a parallel position with the kindling in between.
- Grab 2 more logs and place them perpendicular to the 2 logs that you initially positioned so that it creates a square in the middle.
- Find dry twigs or use a napkin and light it with your match or lighter
- Bring the lit twig/napkin and place it onto the kindling that you positioned in the middle of the logs
- From there, as the fire begins to expand from the twigs/napkin to the kindling, slowly feed the flame with more twigs and kindling to expand it.
- You may experience the flame to die down, if it does, simply blow at the base from an angle to give the flame oxygen to grow.
- After the flame catches onto the logs, you have your campfire!
Step 4: Extinguish Your Campfire
After you've cooked your dinner and had your s'mores, you want to make sure that you fully extinguish the campfire to prevent the embers from catching on any surrounding bushes or wildlife.
- Pour water onto the logs and embers and stir the ashes around so that the entire fire ring will be doused.
NOTE: DO NOT use sand or gravel to put out the flame because it may insulate the heat and the embers which can a problem later. - Repeat the first step until the ashes are cool to the touch.
- Make sure to clean your surrounding areas of trash and other things that you may have left behind when you arrived at the area.
- If you created your own fire ring, make sure to dismantle it before leaving!
Congratulations! You've made your perfect outdoor campfire! Please make sure to always treat you campgrounds and the outdoors with care and pick up anything that doesn't belong with the wildlife.