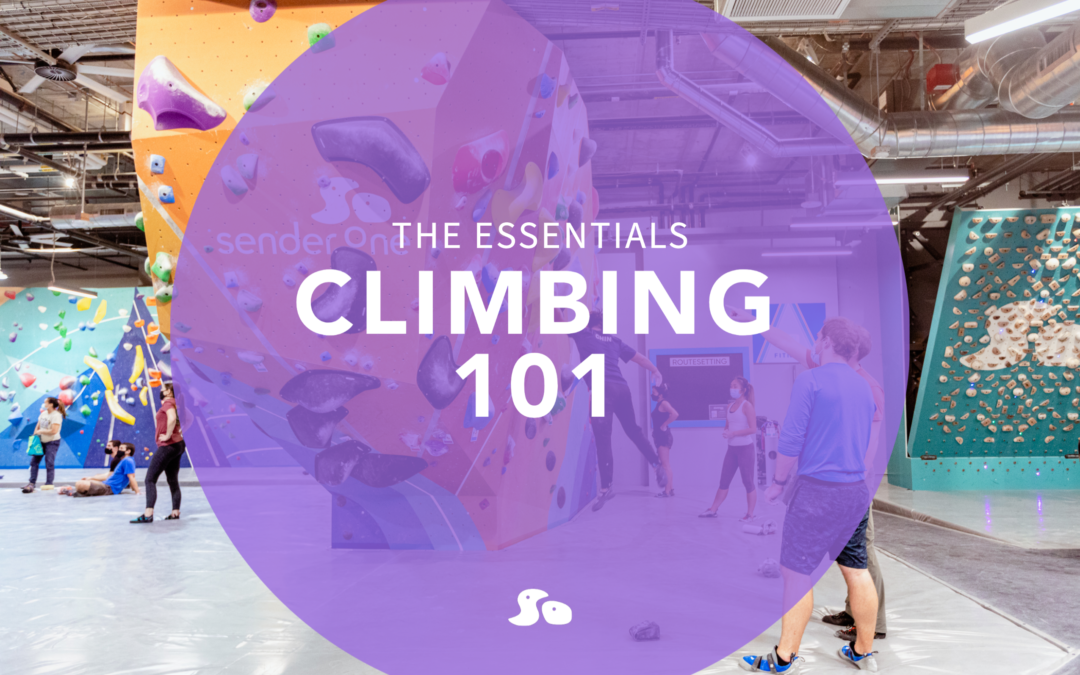
Whether you are new to the climbing community or thinking about trying it out, welcome! We are here to help get you started with some information and resources you might need as you start your climbing journey:
- How to Start Your First Climb
- What to Climb - Understanding Climbing Grades & Getting Mileage
- Introduction to Climbing Techniques
- How to Climb Free of Intimidations
- Shopping for Your Own Climbing Shoes
If you have more questions beyond what is included in this article, our staff is always available to help! You can also connect with the Community for more support on our community Facebook pages: SNA Community, LAX Community, Playa Vista Community.

Start Your First Climb
Around the gym you'll notice groups of holds going up the wall in the same color. Each set of same color holds makes up a route, which you'll climb from bottom to top. And this may seem straightforward, but there is actually a way to complete a route properly!
To start your route, you'll want to have both of your hands on the hold that is attached to the route tag. However, sometimes the route has a two handed start - meaning your hands can start on two different holds.
For two handed starts at Sender One, the rule is that you can use any holds attached to the route tag, OR below it. You know you have a two handed start when: you try to put both on one hold and it feels IMPOSSIBLE; you see another good hand hold below the route tag, or if you see chalk on another hold below the starting one - that means other climbers have been using it!
To finish your route, get both hands secured on the very top hold in the color you started on. When you can, use the down-climb (white or grey) holds to get lower to the floor before dropping down, your knees who will thank you later!

Did you know?
Every Boulder grade starts with a "V" which is short for "Vermin", the nickname of John Sherman who was a pioneer of Bouldering, and the creator of the V-scale.
Every Rope Climbing grade starts with a "5." which comes from the Yosemite Decimal System. The "5." indicates the 'Class' of a hike, where 1 would be flat and 5 would require climbing & ropes in order to complete it. The additional numbers/letters such as "5.10a" indicates the difficulty of the climb itself.
What to Climb
Understanding Climbing Grades
Each boulder route in the gym will have a tag with a 'v' followed by a number. The number on this tag indicates the difficulty of the climb, with the lowest difficulty starting at v0. As a beginner, you'll want to find routes with a tag that show 'v0', 'v1', or 'v2'. Each gym has a learning corner where you will find multiple routes with these grades next to each other. This is the perfect place to start especially if it's your first time climbing. If you aren't sure where this learning corner is, just ask a staff member! Once you've climbed all these routes, you'll find even more lower difficulty grades scattered throughout the gym.
Each top rope route will also have a tag with a number, and sometimes a letter. The lowest difficulty you'll find at the gym is a 5, and the routes will get more difficult as the numbers increase. Once you reach 10, you'll notice the tags start to include letters, such as '10a'. The letters range from 'a' to 'd', and indicate an increase in difficulty where a '10a' is less difficult than a '10d'. As a beginner, you'll likely start with grades 5-9, and some 10s if you're a natural.
Climbing Everything
During your first year of climbing it's helpful to focus on getting in mileage - meaning go climb everything you can! This will help you build up strength, increase endurance, and introduce you to different styles of climbing.
To get more mileage, warm-up by climbing up AND down routes. If heights don't suit you quite yet, that's okay too! You can get mileage in by traversing. Traversing is essentially sideways climbing. Simply pick a starting point on the wall and climb to the left or right, working your way across the wall as far as you can go.

Introduction to Climbing Techniques
As you start to climb more difficult routes, it will require a bit more technique to continue climbing efficiently. Here are some techniques you'll start to use:
Flagging: Using your legs to provide balance on the wall. When reaching for a hold in one direction, move your leg on the opposite side of your body out in the other direction. For example, if you reach towards the right with your right hand, move your left leg out towards the left to maintain balance.
Straight Arms: Keep your arms straight whenever possible to conserve energy, and focus on using your legs for driving momentum rather than relying on your arms.
Smearing: Using the the ball of your foot to gain friction on the wall. Sometimes there may not be a hold available when you need it, but the wall is always there for you!
Foot matching: Switching which foot is placed on a particular hold. You can do this efficiently by hovering one toe directly above the foot on the hold, and quickly replacing the hovering toe with the other.
Heel Hooks: Placing the back of your heel on a hold for stability, or to drive momentum through by pulling on a hold with your heel to reach the next hand hold.
Stemming: Pushing with your hands and/or feet against opposing walls or holds.
Closed Hips: Turning your hips in close to the wall. This helps improve your reach, improve stability, and helps conserve energy.
These climbing techniques and more are taught in our Intro to Bouldering class (FREE for members & punch-pass holders!) and Foundations Series. Class availability may vary by location, sign-up below!
- Intro to Bouldering at Playa Vista
- Foundations Series at SNA
- Foundations Series at LAX

Climb Free of Intimidations
One of the best parts of climbing is becoming a part the community. While climbing can be intimidating at first, don't forget that each climber had to start their own journey at the beginning too. If you ever feel stuck on a climb, or need a little encouragement, don't be afraid to ask a fellow climber for help. Part of climbing is really just creative problem solving, and us climbers love to work together to find the solution, or as we call it the 'beta'.
Another intimidating factor may be approaching a route when there are a few other advanced climbers watching. But toss those fears aside because the climbers sitting there need to take breaks between attempts, and work on finding a beta (creative solution) to complete their route. By attempting a route near them, you are really just ensuring they get a much needed break, and they will most likely cheer you on!
Getting support from your community can help accelerate your progress, and of course you may make some friends along the way.

Shopping for Your Own Climbing Shoes
Investing in your own climbing shoes is worth it! Rental shoes will only get you so far as they have their limits as you progress into more difficult routes. Plus, no one else's feet have been in them which is the real benefit.
How Your Climbing Shoes Should Fit
Climbing shoes will fit more snug than a regular pair of shoes. It's actually perfect if your climbing shoe is a little bit tight as this will help give you more control when climbing! However, you don't want them to be uncomfortable. If your toes are too crunched where there's a clear bump when you look at them, try a size up. Also keep in mind that you don't typically wear socks while climbing, so be sure to test your shoe size without socks on.
How to Shop for Climbing Shoes
For your first pair of climbing shoes, you'll want to look for shoes designed for beginner climbers. Look for climbing shoes with only a slight arch, and more rounded toes. These are designed for more comfort since you'll be wearing your shoes throughout your session, rather than competition style shoes that climbers will take off right after they attempt their route.
A good example beginner shoe is the 5.10 Kirigami Climbing Shoe shown on the left.
Where to Shop For Climbing Shoes
5.10 climbing shoes, including the Kirigami shoe above, can be found in the retail section of your Sender One home gym (may vary by gym). If it's not available your size we can always order it for you!
You can also find gently used shoes from multiple brands at discounted prices through REI.